After you have cloned VoroCrust and before you build the code, you will need to create a build directory. CMake based projects should never be built from inside the source directory because the CMake tool generates a fair amount of project files, etc. that can easily pollute the source directory and make it difficult to sort out the generated files that you do not want committed to your project from the project files that do belong.
So we need to create our build directory. The build directory can be anywhere on your computer as you will typically run CMake from inside the build directory while pointing the tool back to the location of the source directory. CMake recommends creating a directory in parallel the source directory using a naming scheme something like <source directory>-build.
In VoroCrust, we typically just create a directory called “build” in our VoroCrust tree. The advantage of this is that at the command line, if your shell is configured to display it, you can see what topic-branch you are building from which is useful. VoroCrust is also set up so that git will ignore anything in a directory named “build” so we have a lower chance of accidentally committing build artifacts into the repository.
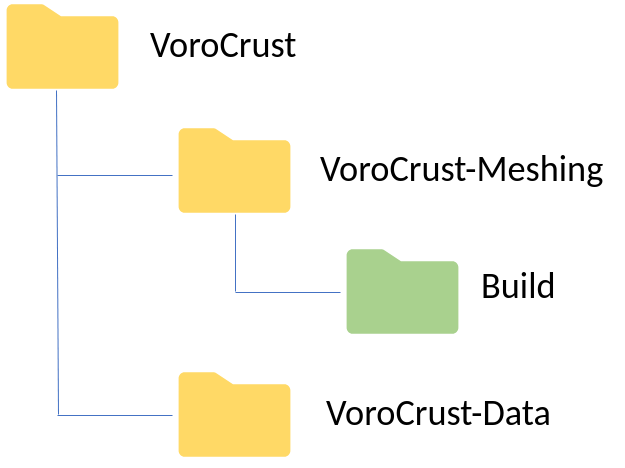
When you create your build directory, the directory structure will look something like the diagram to the right.
For example, if we cloned VoroCrust into the directory $HOME/VoroCrust/vorocrust-meshing, then we can create our build directory using the following commands:
$ cd $HOME/VoroCrust/vorocrust-meshing
$ mkdir build
$ cd build
This will create our build directory and set our current directory to the build dir.