After VoroCrust-Meshing has been configured using CMake, you can open the “VoroCrust-Meshing.sln” file into Visual Studio.
The following steps can be followed to build VoroCrust-Meshing:
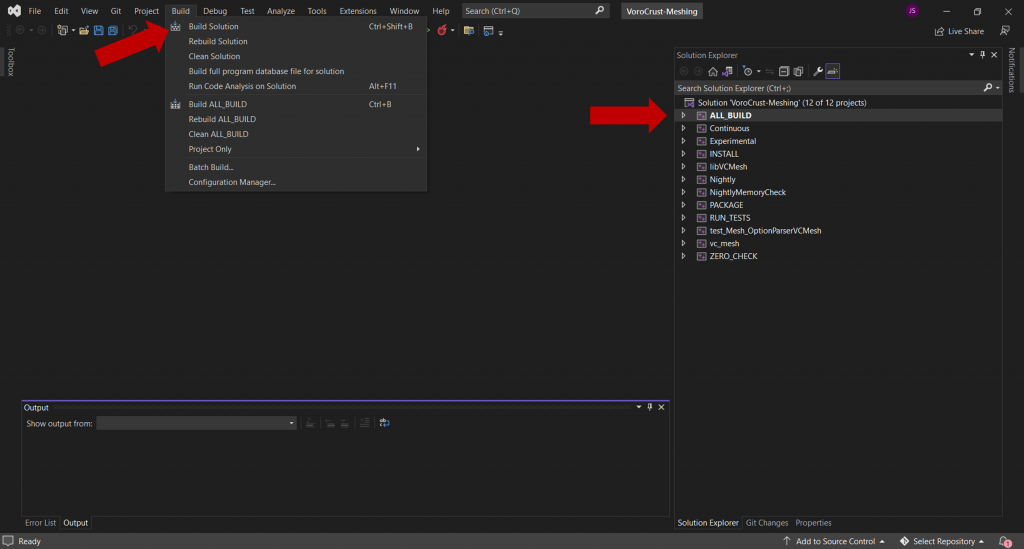
First, select the ALL_BUILD target in the Solution Explorer panel.
Next, select Build Solution from the Build menu to build all of the targets in VoroCrust-Meshing. The following image shows where these are located in a stock Visual Studio installation.
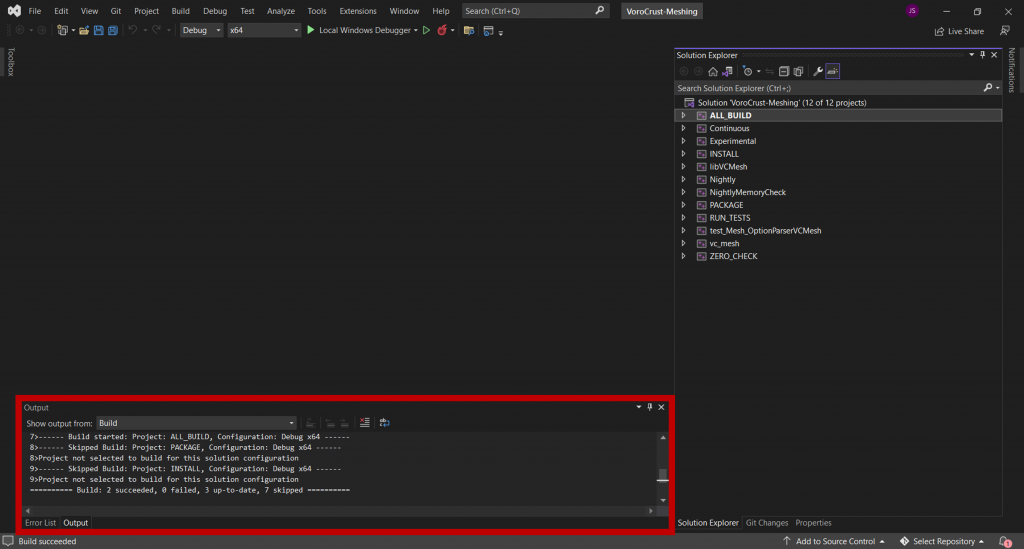
The build output will show up in the Output panel. The main thing to see is a line at the end that looks something like:
========== Build: 2 succeeded, 0 failed, 3 up-to-date, 7 skipped =========
as shown in the diagram below:
At this point you have successfully built VoroCrust-Meshing.
If you’re interested in testing, see the instructions here.